

 Thanks:
  Likes:
  Needs Pictures: 0
 Picture(s) thanks: 0
Results 1 to 11 of 11
-
5th Jan 2012, 12:48 AM #1
 Most Valued Member


- Join Date
- Jun 2008
- Location
- Victoria, Australia
- Age
- 74
- Posts
- 5,080
 Casting Tools Part 5 - Casting a part
Hi All,
Finally got around to taking some pictures, I had to cast a new table locking ring for the Waldown drill press restoration, so this was a good opportunity to take some pictures.
The pattern is pretty simple, and the rough core was only added at the last minute, you would normally have designed the pattern with the core in mind..
The core in this case is just packed petrobond and a simple wooden pattern
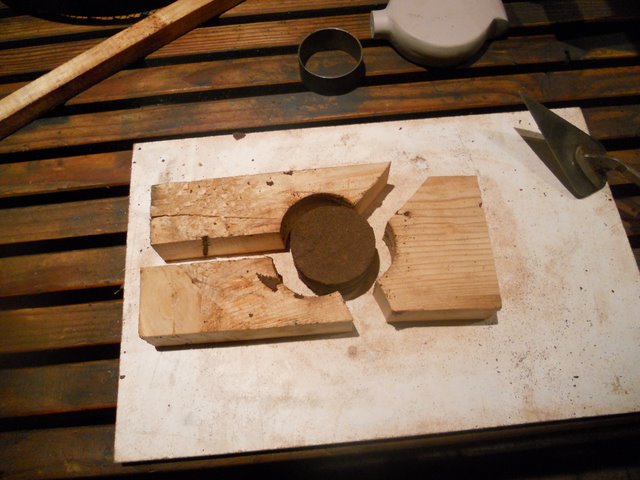
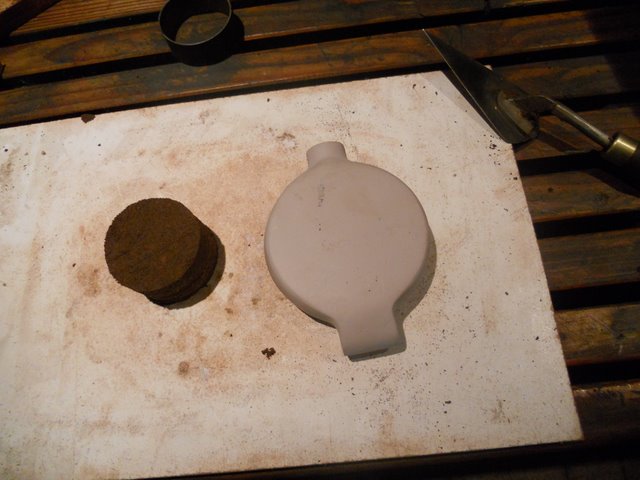
The pattern was made by covering the original part with plastibond, and plywood covers top and bottom.
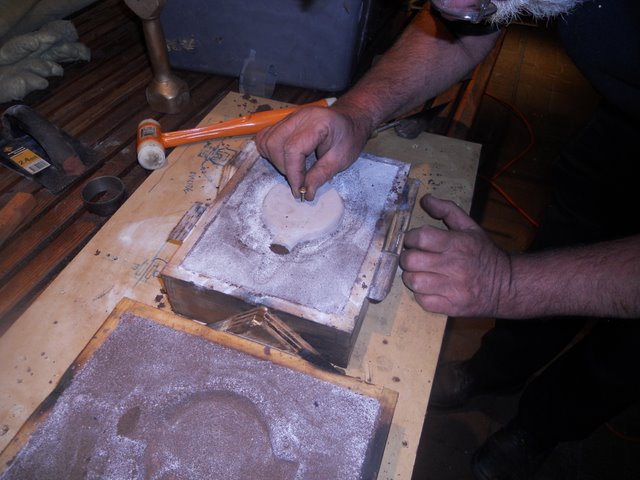
Ok, now flip the drag upside down and place on a flat board, put the pattern in place,
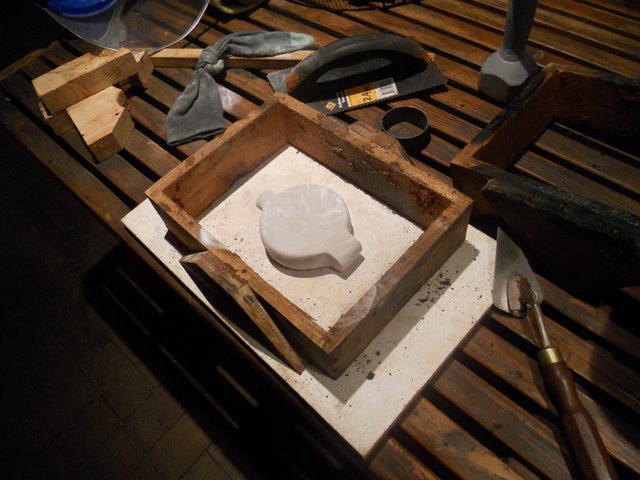
and dust it liberally with casting powder, (talcum powder works I'm told). The parting powder is in a special applicator.. (sock that is)...
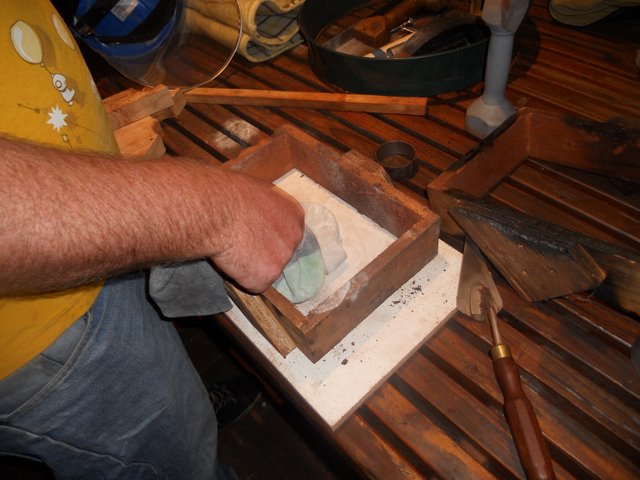
Now riddle petrobond to cover the pattern, the riddle (sieve) is to keep out clumps and large bits
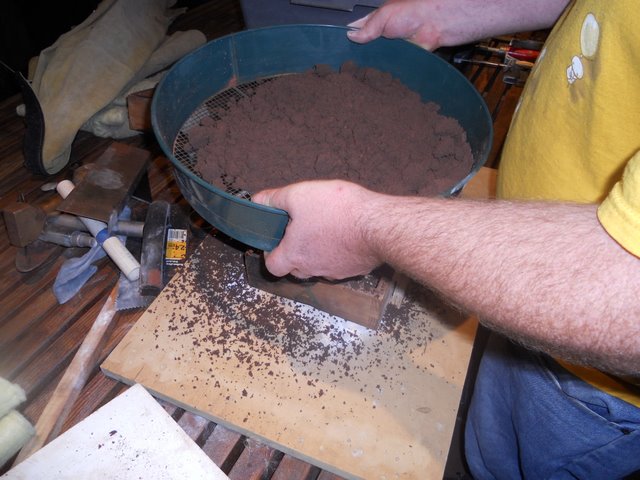
Once the pattern is completely covered, you can just shovel it in and pack down with a rammer as you go.
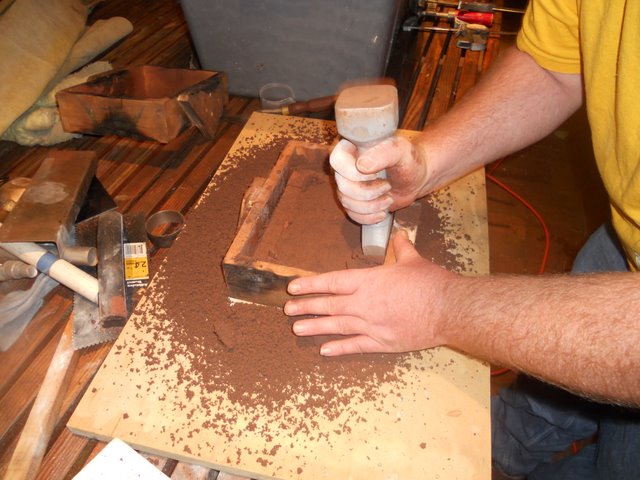
Pack it in nice and tight, and then screed off with a bit of light sheet metal angle.
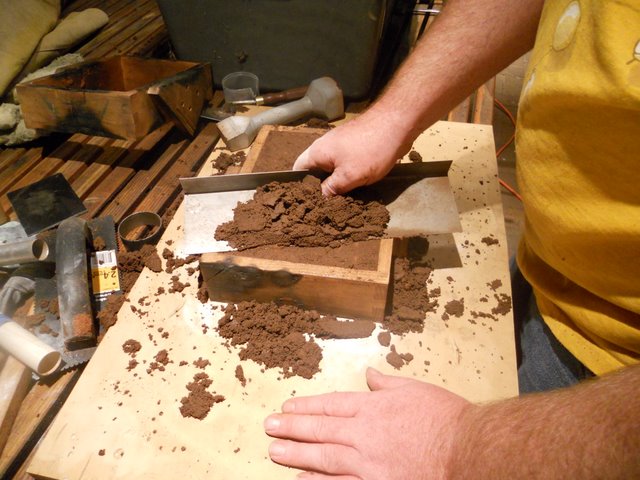
Now flip the drag over (the right way up)
Ok, now define the parting line, a small spoon shaped spatula works a treat for this.
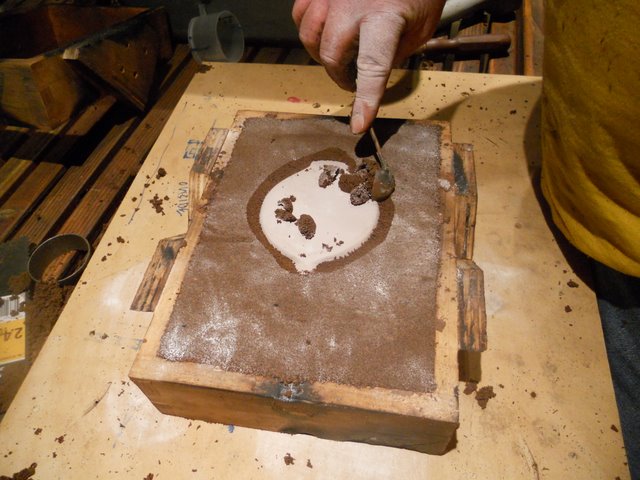
Cut down to about half way on the part, this is so that we can get the pattern out of the sand later, if you are doing a proper pattern, then a split pattern avoids this step.
Continued in the next post.... I think I'm going to exceed the limit on number of pictures..
-
5th Jan 2012, 01:07 AM #2
Most Valued Member
- Join Date
- Jun 2008
- Location
- Victoria, Australia
- Age
- 74
- Posts
- 5,080
Continuation...
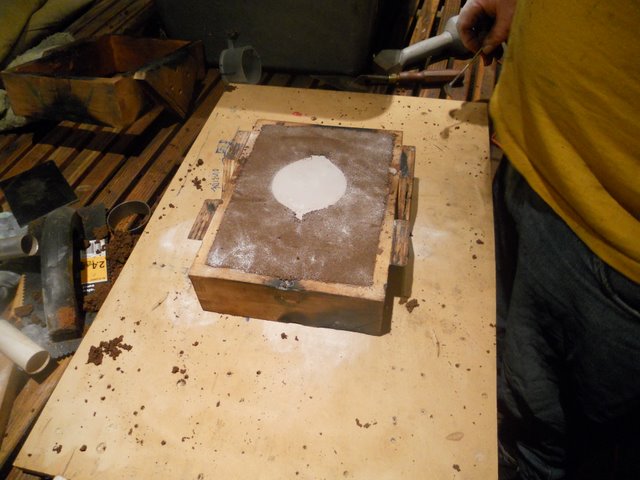
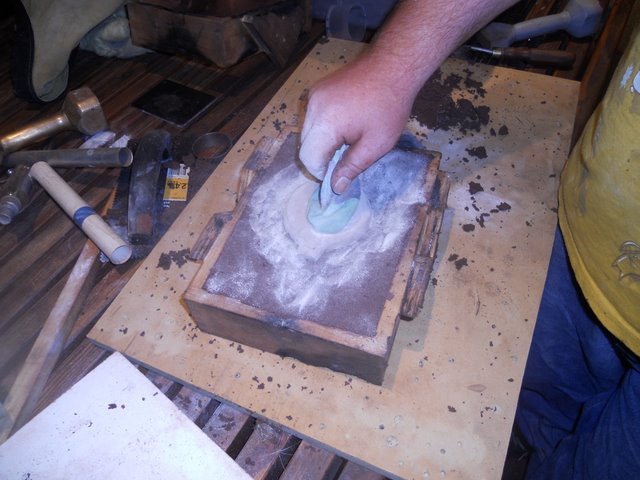
Ok, now dust liberally with parting powder..
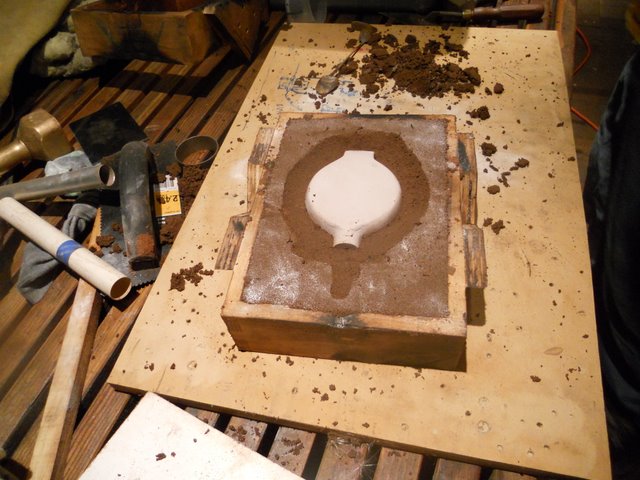
Now put the cope on top and riddle some sand in..then pack it down as before and screed off the top, carefully separate the cope and drag, and there you have a rough pattern.. Josh and I swapped over at this point, and he was a bit slack with the pictures.
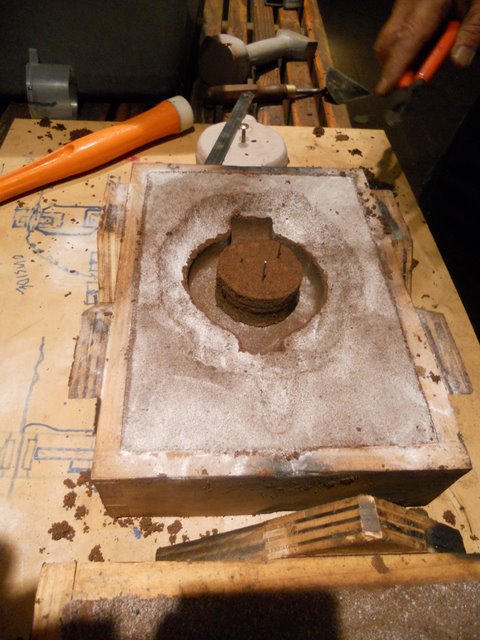
Now for the tricky bit, getting the pattern out... tapping with a hammer and wiggling a bit with a screw helps...
Now to pin the core in place. (if this was a proper pattern there would be slots for the core to sit in...) The wire pins are to stop the core moving around when you do the pour.
Now to cut some sprues and risers..
The sprue is the feed point for the casting, sometimes you might need gates and provision for shrinkage... but that's a bit beyond this article.. A bit of pvc tubing with a bevelled edge cuts the sprue.
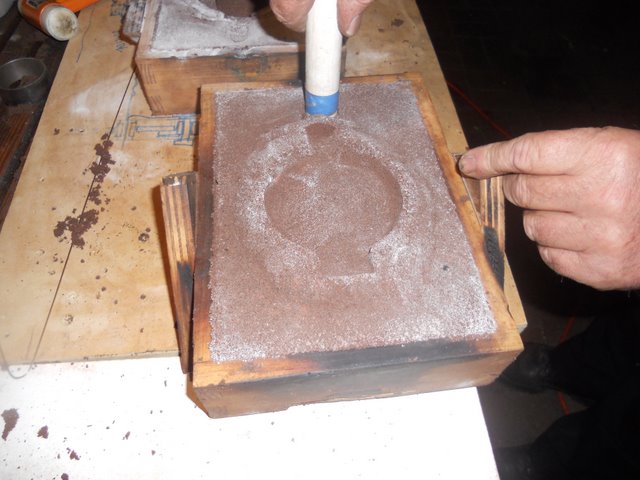
Now we cut the riser and some vents, the riser is at the far end of the pour, and we should see that fill up when the pour is completed.

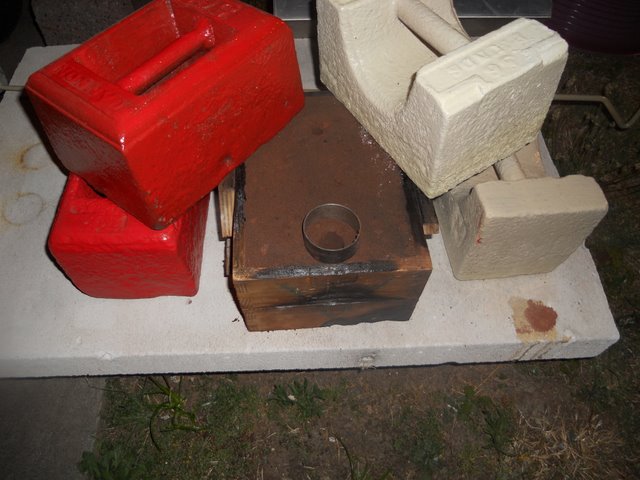
Ok, that's now ready for the pour, handle carefully so that you don't get loose sand dropping into the casting.
Load up with some weights and we are ready..
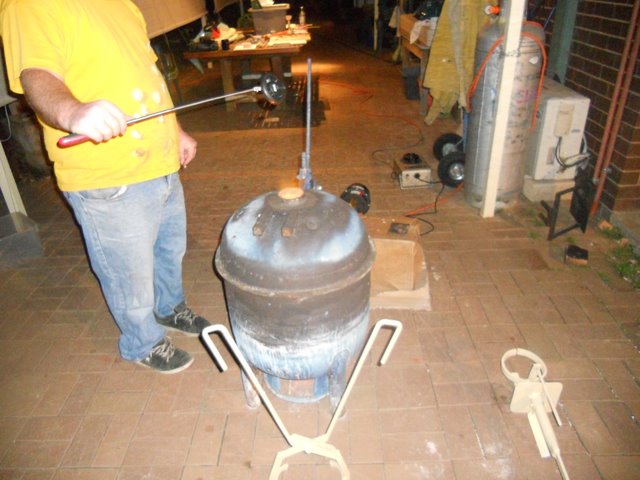
Melting the Silicon Bronze.
Didn't take any pictures of the pour, but here is an older video of a bronze pour Josh and I did..
[ame="http://www.youtube.com/watch?v=omrqSI1xFNk"]Bronze Pour - YouTube[/ame]
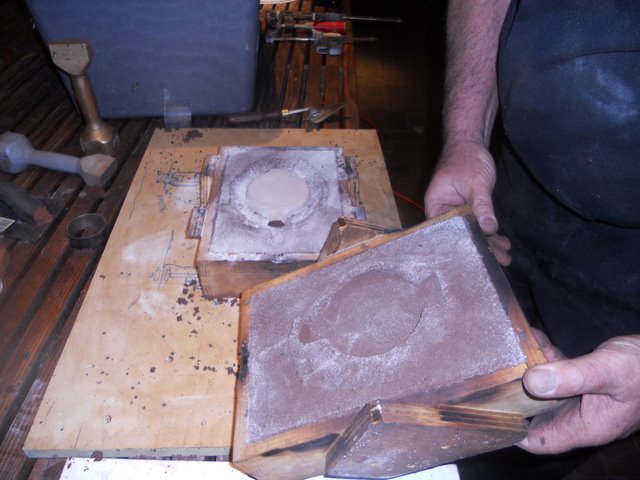
Here it is after breaking the part out, make sure you leave plenty of time for cooling...
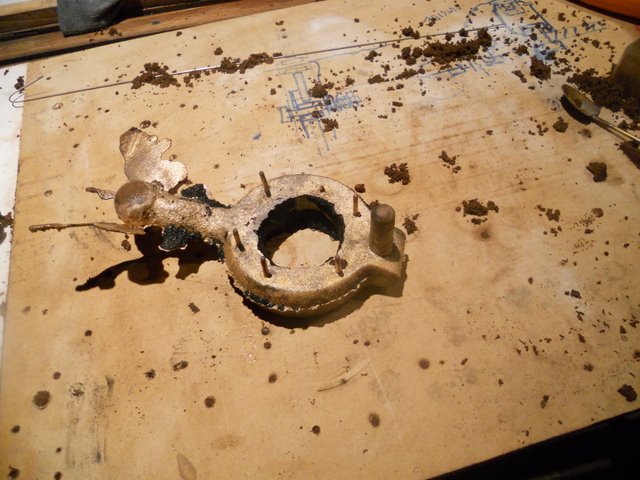
You can see where the pour has crept under the core a little, but that flashing will go when it's machined. You can also see the where the bronze has flowed into the vents and riser.
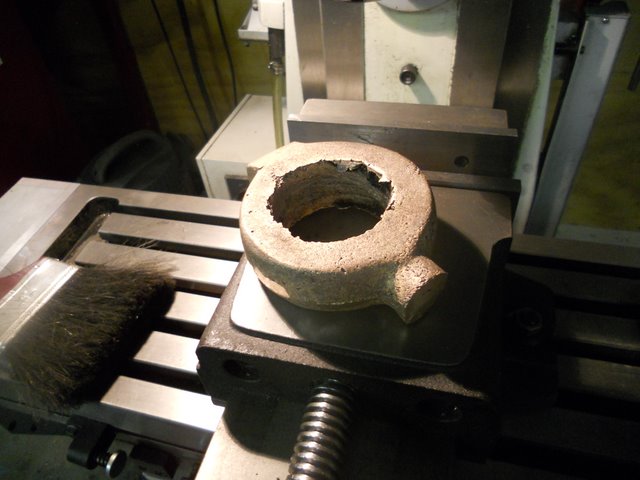
Sprue's and risers cut off, and ready to start machining, the finish is better than it looks in this picture.. but it will be filled and painted anyway..
I'll post something in the Waldown restoration thread for those who want to see the finished clamp.
That's it, I know there are people on the forum who have a lot more experience at casting than I do, who can help out with a few suggestions on things I'm doing wrong
But, all things considered you can do more with metal in the liquid state than when it's solid...
It's really not all that complicated.. so get out there and give it a go!...
Regards
Ray
-
5th Jan 2012, 01:19 AM #3
Novice
- Join Date
- Sep 2011
- Location
- Sydney, NSW, Australia
- Age
- 29
- Posts
- 13
Looking really nice. I have had an interest in casting for a fair while!
-
5th Jan 2012, 01:32 AM #4
Novice
- Join Date
- Sep 2011
- Location
- Sydney, NSW, Australia
- Age
- 29
- Posts
- 13
woops... Thanks for recording that!
-
5th Jan 2012, 01:43 PM #5
Most Valued Member
- Join Date
- Jun 2008
- Location
- Victoria, Australia
- Age
- 74
- Posts
- 5,080
Finally, All 5 threads combined into a PDF.... (as requested by Eskimo)...
Regards
Ray
-
13th Sep 2017, 11:41 AM #6
 Most Valued Member
- Join Date
- Jul 2006
- Location
- Athelstone, SA 5076
- Posts
- 4,258
I have spent 2.75 hours looking for this PDF on the WWF...couldnt find it...now I see I might have it my my computer

ps ...anyone know where I filed it?
its not where I thought I thought it would be anyway...
-
13th Sep 2017, 12:12 PM #7
Most Valued Member
- Join Date
- Jan 2011
- Location
- Far West Wimmera
- Age
- 63
- Posts
- 4,049
On the hard drive?
Dean
-
13th Sep 2017, 07:26 PM #8
Most Valued Member
- Join Date
- Jun 2008
- Location
- Victoria, Australia
- Age
- 74
- Posts
- 5,080
 Originally Posted by eskimo

Funny, it was right where I left it. http://www.backsaw.net/pics/Casting/Casting101.pdf
Ray
-
13th Sep 2017, 07:34 PM #9
Most Valued Member
- Join Date
- Jan 2011
- Location
- Far West Wimmera
- Age
- 63
- Posts
- 4,049
Yeah, Eskimos's is probably where he left it too.

I've downloaded it now too. That was a year after I jhoined and I guess I had no interest at the time.
Dean
-
14th Sep 2017, 09:16 AM #10
Most Valued Member
- Join Date
- Jul 2006
- Location
- Athelstone, SA 5076
- Posts
- 4,258
must figure out one day why things are always in the last spot I look....and why they have a new address...maybe I lend them to people and they never get returned... Originally Posted by RayG
thanks Ray
-
30th Jul 2018, 12:46 PM #11
Novice
- Join Date
- Feb 2018
- Location
- Florida, USA
- Posts
- 20
I do not know but I think you need to start looking at the last place first.
No pun intended
Nelson


 Reply With Quote
Similar Threads
-
Casting Tools Part 2 - Burners
By RayG in forum THE FOUNDRYReplies: 12Last Post: 12th Dec 2011, 10:07 AM -
Casting Tools Part 4 - Sand Casting Tools
By RayG in forum THE FOUNDRYReplies: 8Last Post: 9th Dec 2011, 12:03 PM -
Casting Tools Part 3 - Furnace Design and Construction
By RayG in forum THE FOUNDRYReplies: 10Last Post: 7th Nov 2011, 01:27 PM -
Casting Tools Part 1
By RayG in forum THE FOUNDRYReplies: 2Last Post: 3rd Nov 2011, 04:15 PM
